
In Android development, Event Listeners are the bridge between the user’s physical interaction (a tap on the screen) and the code that executes in response.
Here is a breakdown of how to set up button clicks using XML for the layout and Kotlin for the logic.
1. Define the Button in XML
First, you need to define the button in your layout file (usually activity_main.xml). The most important part is the android:id, which allows your Kotlin code to “find” the button.
XML
<Button
    android:id="@+id/myButton"
    android:layout_width="wrap_content"
    android:layout_height="wrap_content"
    android:text="Click Me!"
    app:layout_constraintTop_toTopOf="parent"
    app:layout_constraintStart_toStartOf="parent"
    app:layout_constraintEnd_toEndOf="parent"
    app:layout_constraintBottom_toBottomOf="parent" />
2. Handle the Click in Kotlin
There are two primary ways to handle this in your MainActivity.kt.
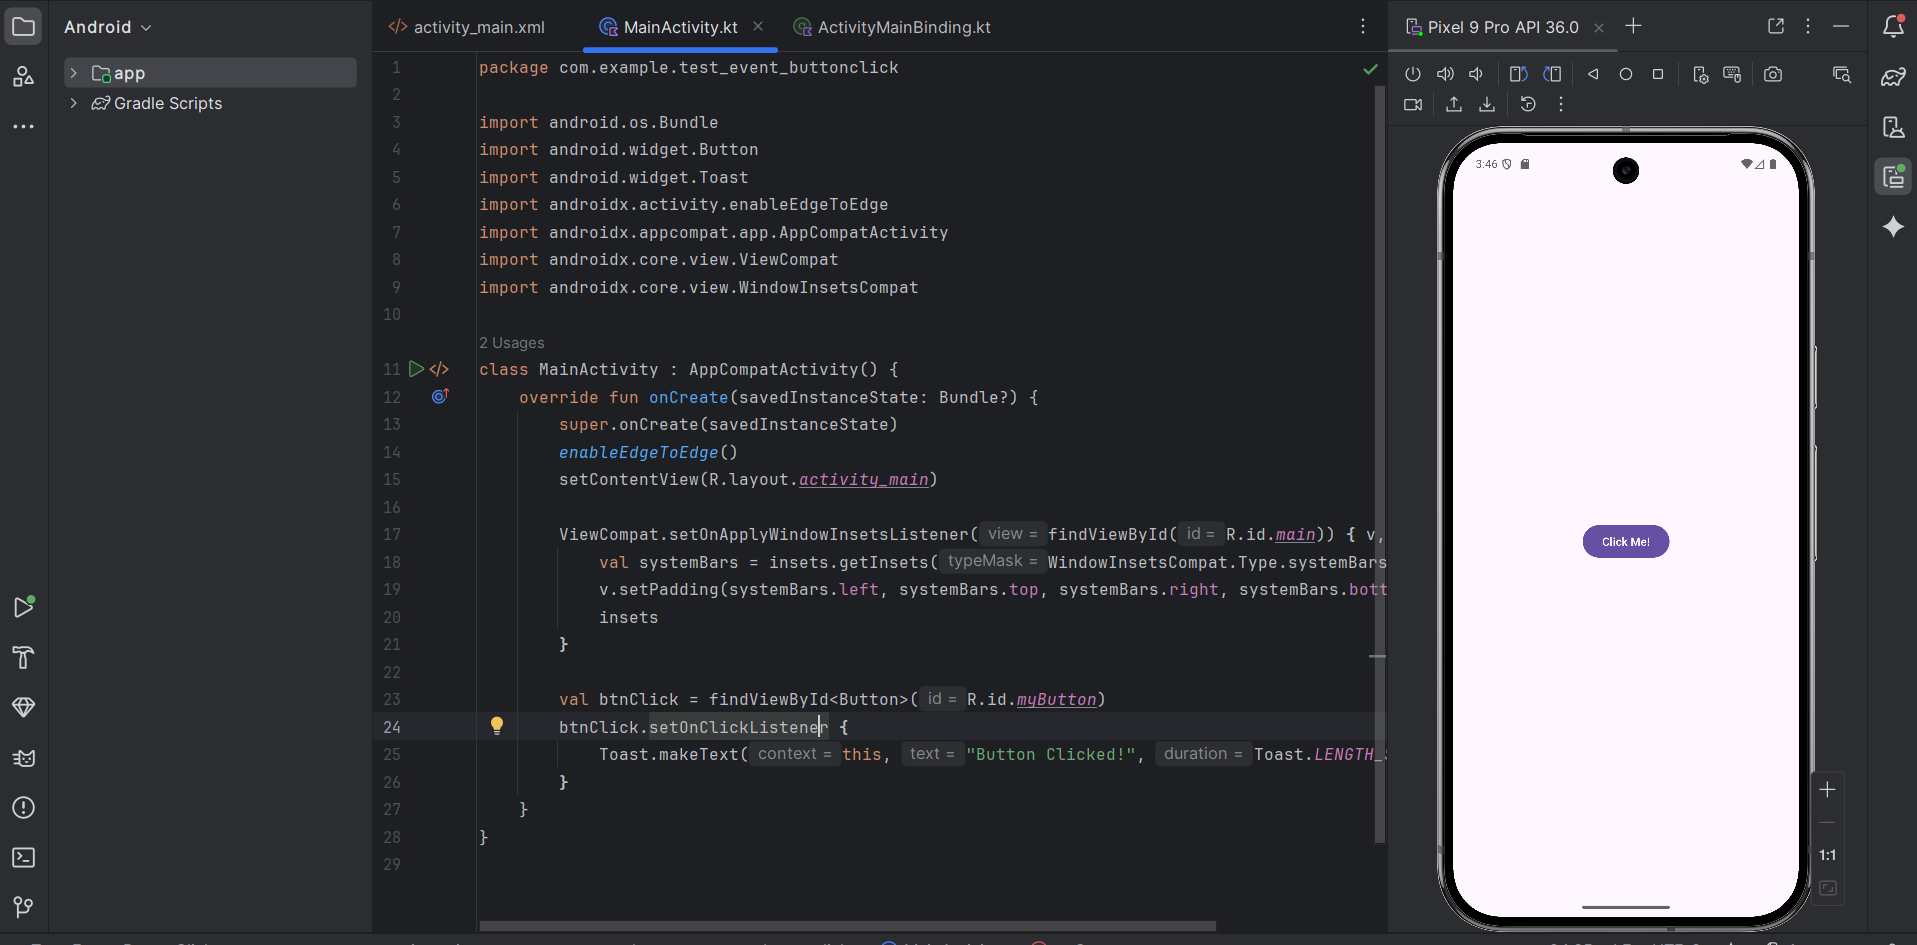
Method A: The Standard setOnClickListener
This is the most common way to handle events. You find the view by its ID and then attach a listener.
Kotlin
import android.os.Bundle
import android.widget.Button
import android.widget.Toast
import androidx.activity.enableEdgeToEdge
import androidx.appcompat.app.AppCompatActivity
import androidx.core.view.ViewCompat
import androidx.core.view.WindowInsetsCompat

class MainActivity : AppCompatActivity() {
    override fun onCreate(savedInstanceState: Bundle?) {
        super.onCreate(savedInstanceState)
        enableEdgeToEdge()
        setContentView(R.layout.activity_main)

        ViewCompat.setOnApplyWindowInsetsListener(findViewById(R.id.main)) { v, insets ->
            val systemBars = insets.getInsets(WindowInsetsCompat.Type.systemBars())
            v.setPadding(systemBars.left, systemBars.top, systemBars.right, systemBars.bottom)
            insets
        }

        val btnClick = findViewById<Button>(R.id.myButton)
        btnClick.setOnClickListener {
            Toast.makeText(this, "Button Clicked!", Toast.LENGTH_SHORT).show()
        }
    }
}
Method B: Using View Binding (Recommended)
View Binding is the modern standard. It eliminates the need for findViewById and prevents crashes caused by invalid IDs.
- Enable it in your
build.gradle.kts(Module:app):KotlinviewBinding { enable = true } - Use it in your Activity:
Kotlin
class MainActivity : AppCompatActivity() {
    private lateinit var binding: ActivityMainBinding

    override fun onCreate(savedInstanceState: Bundle?) {
        super.onCreate(savedInstanceState)
        binding = ActivityMainBinding.inflate(layoutInflater)
        setContentView(binding.root)

        // No findViewById needed!
        binding.myButton.setOnClickListener {
            binding.myButton.text = "I've been clicked!"
        }
    }
}
3. Comparison of Click Implementations
| Feature | findViewById | View Binding | XML onClick Attribute |
| Type Safety | No (can cause crashes) | Yes | No |
| Speed | Slower (manual lookup) | Fastest | Moderate |
| Code Clarity | Can get messy | Cleanest | Easy but hard to debug |
| Recommendation | Legacy Projects | Modern Standard | Not Recommended |
Best Practices for Click Listeners
- Keep Logic Simple: Don’t put heavy database or network calls directly inside the
setOnClickListener. Call a separate function or ViewModel method instead. - Avoid the XML
onClickproperty: While you can setandroid:onClick="myFunction"in XML, it is considered bad practice because it relies on reflection and doesn’t check if the function actually exists at compile time. - Haptic Feedback: Consider adding
view.performHapticFeedback()for a better user experience on button presses.